The fastest way to make a PDF look scanned is a browser-based scan-effect tool: upload the PDF, pick a preset such as Office (about 2° rotation, light noise, slight blur, grayscale), check the preview and export. With PDF2Scan it takes under a minute, your file stays in your browser, and 1 PDF per day is free with no signup. Printing and re-scanning gives a real scan but takes longer and needs hardware.
- A convincing scan look combines grayscale, a small tilt (under 3°), light noise, a touch of blur and a slightly off-white page. One effect alone looks fake.
- Online tools are the fastest option; choose one that processes files locally in your browser if the document is private.
- Print-and-scan is the only method that produces a physically real scan, but it costs paper, time and a scanner.
- ImageMagick and GIMP are free and offline, but slower to tune and easy to overdo.
- Every method turns pages into images: the text is no longer selectable or searchable.
The 5 methods at a glance
Every method below produces a PDF whose pages look like images of paper. They differ in how long they take, what they cost and whether your file leaves your computer.
| Method | Time per document | Cost | Privacy | Realism | Best for |
|---|---|---|---|---|---|
| Online scan-effect tool (PDF2Scan) | Under 1 minute | 1 free/day, then from $1.99 | Stays in your browser | High, adjustable | Most people, any device |
| Print and scan | 5–15 minutes | Paper, ink, a scanner | Fully offline | Real scan | When a physical scan is required |
| Phone scanner app | 3–10 minutes | Free apps + a printer | Depends on the app | Real photo, uneven light | No scanner at hand |
| ImageMagick (command line) | 1–2 minutes once set up | Free | Fully offline | Good, needs tuning | Developers, automation |
| GIMP or Photoshop | 10+ minutes per page | Free (GIMP) or paid | Fully offline | As good as your edits | Single pages, full control |
Approximate times for a typical 3-page document. Pricing as of October 2026.
Method 1: Use an online scan-effect tool (fastest)
A scan-effect tool renders each page of your PDF as an image and adds the imperfections a real scanner introduces. PDF2Scan does this entirely in your browser with PDF.js and jsPDF, so the document is never uploaded.
- Open the tool at pdf2scan.com/tool and drop a PDF, JPG or PNG (multi-page PDFs are supported).
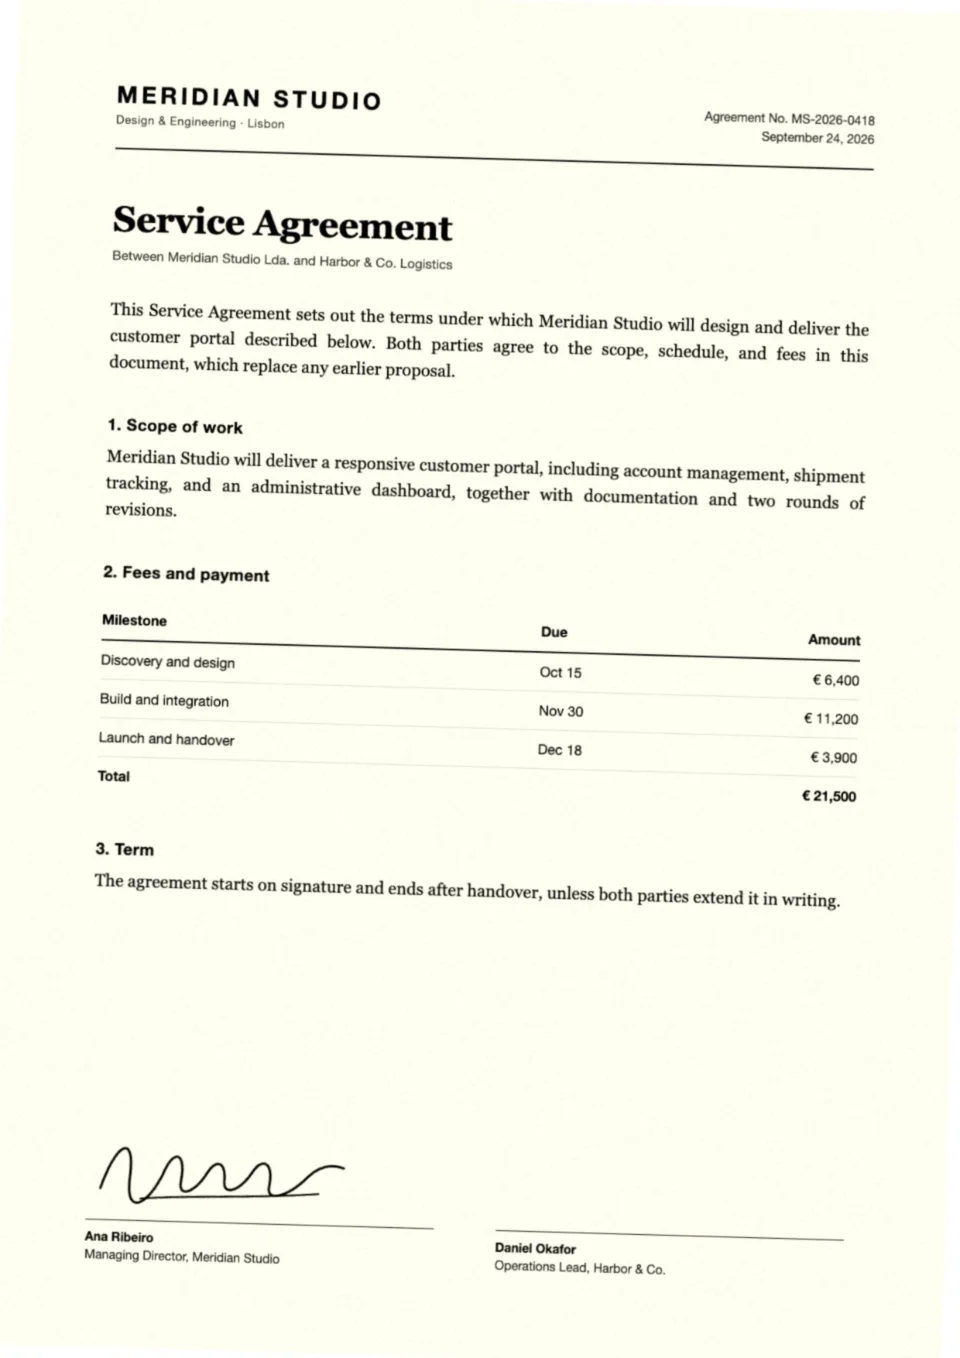
- Pick a preset. Subtle for clean business documents, Office for forms and contracts, Old for an aged copy, Heavy only when you want an obvious effect.
- Fine-tune. Adjust rotation, noise, blur, contrast, brightness and yellowish paper. Switch between Original, Scanned and Split to compare.
- Export. Choose PDF, JPG or PNG and download. The first export of the day is free, with no signup and no watermark.
Need to process many files? Any paid pass or credit pack unlocks PRO: batch up to 10 files, merge them into one scanned PDF, keep color stamps and signatures, export at 300 dpi and add a scanner edge shadow.
Method 2: Print it and scan it (the only “real” scan)
If a process explicitly requires a physical scan, this is the honest way to produce one.
- Print the PDF at 100% scale.
- Sign or annotate it if needed.
- Scan it on a flatbed or office multifunction printer at 200–300 dpi, grayscale.
- Save as PDF and check that every page is straight enough to read.
Expect 5–15 minutes per document plus paper and toner. Office scanners often add their own compression, so text can come out softer than you expect.
Method 3: Photograph the printout with a phone scanner app
Phone apps such as Adobe Scan, the document scanner in Google Drive, or Scan Documents in the iOS Files and Notes apps detect page edges, flatten perspective and save a PDF.
The result is a real photo of paper, but lighting is rarely even: shadows from your hand and glare from overhead lights are common. It still requires printing first, so it is slower than a browser tool and not useful for documents that only exist digitally.
Method 4: ImageMagick on the command line (free and scriptable)
ImageMagick can rasterize a PDF and add grayscale, contrast, blur, noise and rotation in one command. It needs Ghostscript installed to read PDFs.
magick -density 150 input.pdf -colorspace gray \
  -linear-stretch 3.5%x10% -blur 0x0.5 \
  -attenuate 0.25 +noise Gaussian -rotate 0.5 \
  -compress jpeg -quality 85 output.pdf
-density 150sets the rasterizing resolution. Use 200–300 for small print.-linear-stretchraises contrast so text looks like toner.-blur 0x0.5and+noise Gaussianadd softness and grain; keep both low.-rotate 0.5tilts every page by the same angle. Real scans vary page to page, so consider a small script that randomizes it.
policy.xml security policy. You will see a “not authorized” error until the PDF rule is enabled.Method 5: GIMP or Photoshop (maximum control, slowest)
Image editors give you full control but work page by page.
- Open the PDF; GIMP imports each page as a layer at the resolution you choose (use 150–200 ppi).
- Desaturate to grayscale and raise contrast slightly with Levels or Curves.
- Add noise (in GIMP: Filters → Noise → RGB Noise, low values) and a 0.3–0.6 px Gaussian blur.
- Rotate each page by a different small angle (0.3°–2°).
- Export as PDF; in GIMP enable Layers as pages to keep multiple pages.
This is worthwhile for one important page you want to art-direct. For anything longer, a dedicated tool is faster and more consistent.
Settings that look real (and the ones that look fake)
Whatever method you choose, realism comes from small, combined imperfections. These are the values behind PDF2Scan’s presets:
| Preset | Rotation | Noise | Blur | Contrast | Brightness | Paper tint | Use it for |
|---|---|---|---|---|---|---|---|
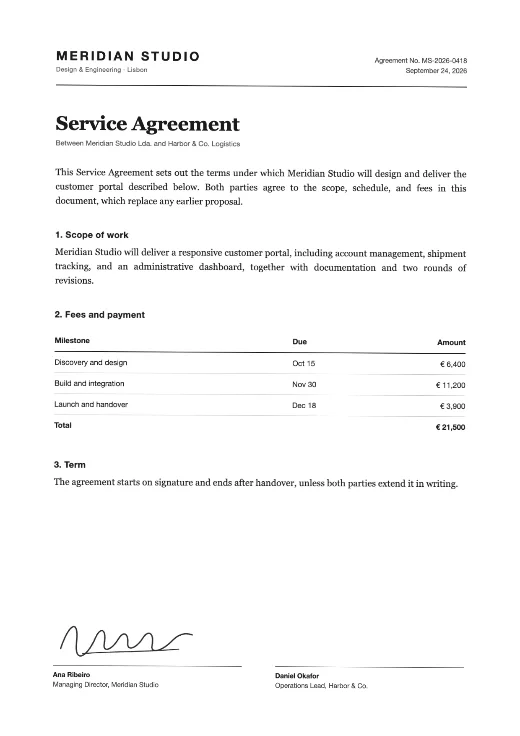
| Subtle | 0.3° | 10% | 0.1 px | 50% | 50% | 0% | Clean business documents |
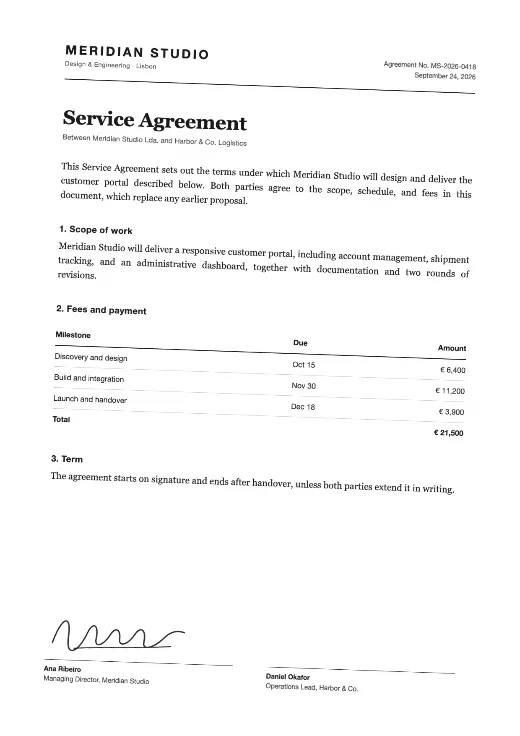
| Office | 2° | 20% | 0.2 px | 50% | 50% | 0% | Forms, contracts, applications |
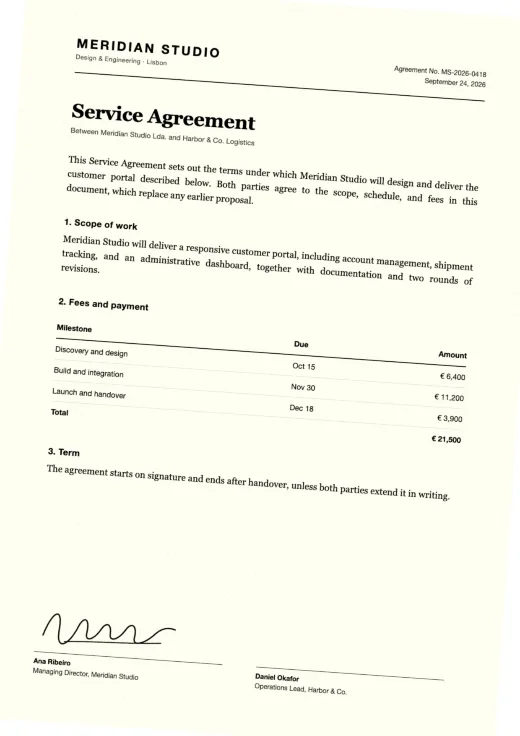
| Old | 4° | 55% | 0.7 px | 70% | 44% | 18% | Older or copied paperwork |
| Heavy | 7° | 80% | 1.2 px | 85% | 38% | 28% | Deliberately obvious effect |
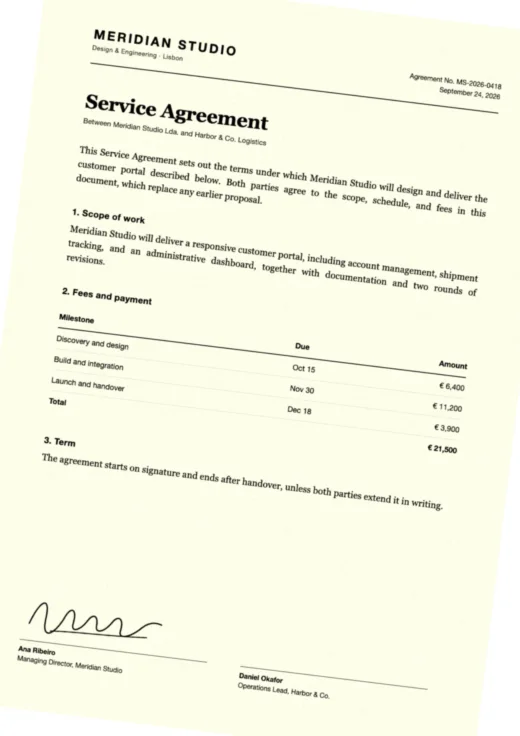
Common mistakes
- Too much rotation. Anything above 3° looks careless rather than scanned.
- Blur that hurts reading. If small print or numbers soften, halve the blur.
- Pure white pages. Real paper is never #FFFFFF; a little noise or tint fixes that.
- Color left on. Most scanned paperwork is grayscale. Keep color only for stamps, signatures in blue ink or logos.
- Identical pages. In a long document, the same perfect tilt on every page is a giveaway.
For a deeper breakdown of each effect, read PDF scan effect: the settings that look real.
What changes in the file after you do this
- Text becomes an image. You can no longer select, copy or search it (see scanned vs digital PDF). Keep your original if you need to edit later.
- File size usually grows, because pages are stored as images. 150 dpi is a good balance; 300 dpi is sharper but larger.
- Hidden content is flattened. Form fields, comments and layers are baked into the page image.
Use it responsibly
Making a PDF look scanned changes how it looks, not what it says. Common legitimate reasons: a portal that only accepts scanned-looking uploads, matching the style of an existing paper archive, mockups and presentations, or avoiding a printer for a document you already signed digitally. Do not use a scan effect to misrepresent a document’s origin, content or signatures.